In the previous tutorial regarding designing a Ticketing screen, we have shown how to dynamically change the text on screens. This tutorial will show how asset values, specifically custom fields assigned to displays, can also automate switching images and videos.
As before, we will use the custom fields functionality to achieve this goal. We will introduce a new versatile feature called Dynamic media, enabling the user to recall media items based on data & custom fields.
The example we will create is a Security checkpoint display template that will show if a security screening lane is open or closed. We will be using the Security custom field, which comes preconfigured in the base system.
This approach can also be used for other use cases, such as Airline counter screens and airline logos on flight lists.
Templates tab - Designer:
- Dynamic media driven by display custom field values
Sample screens:
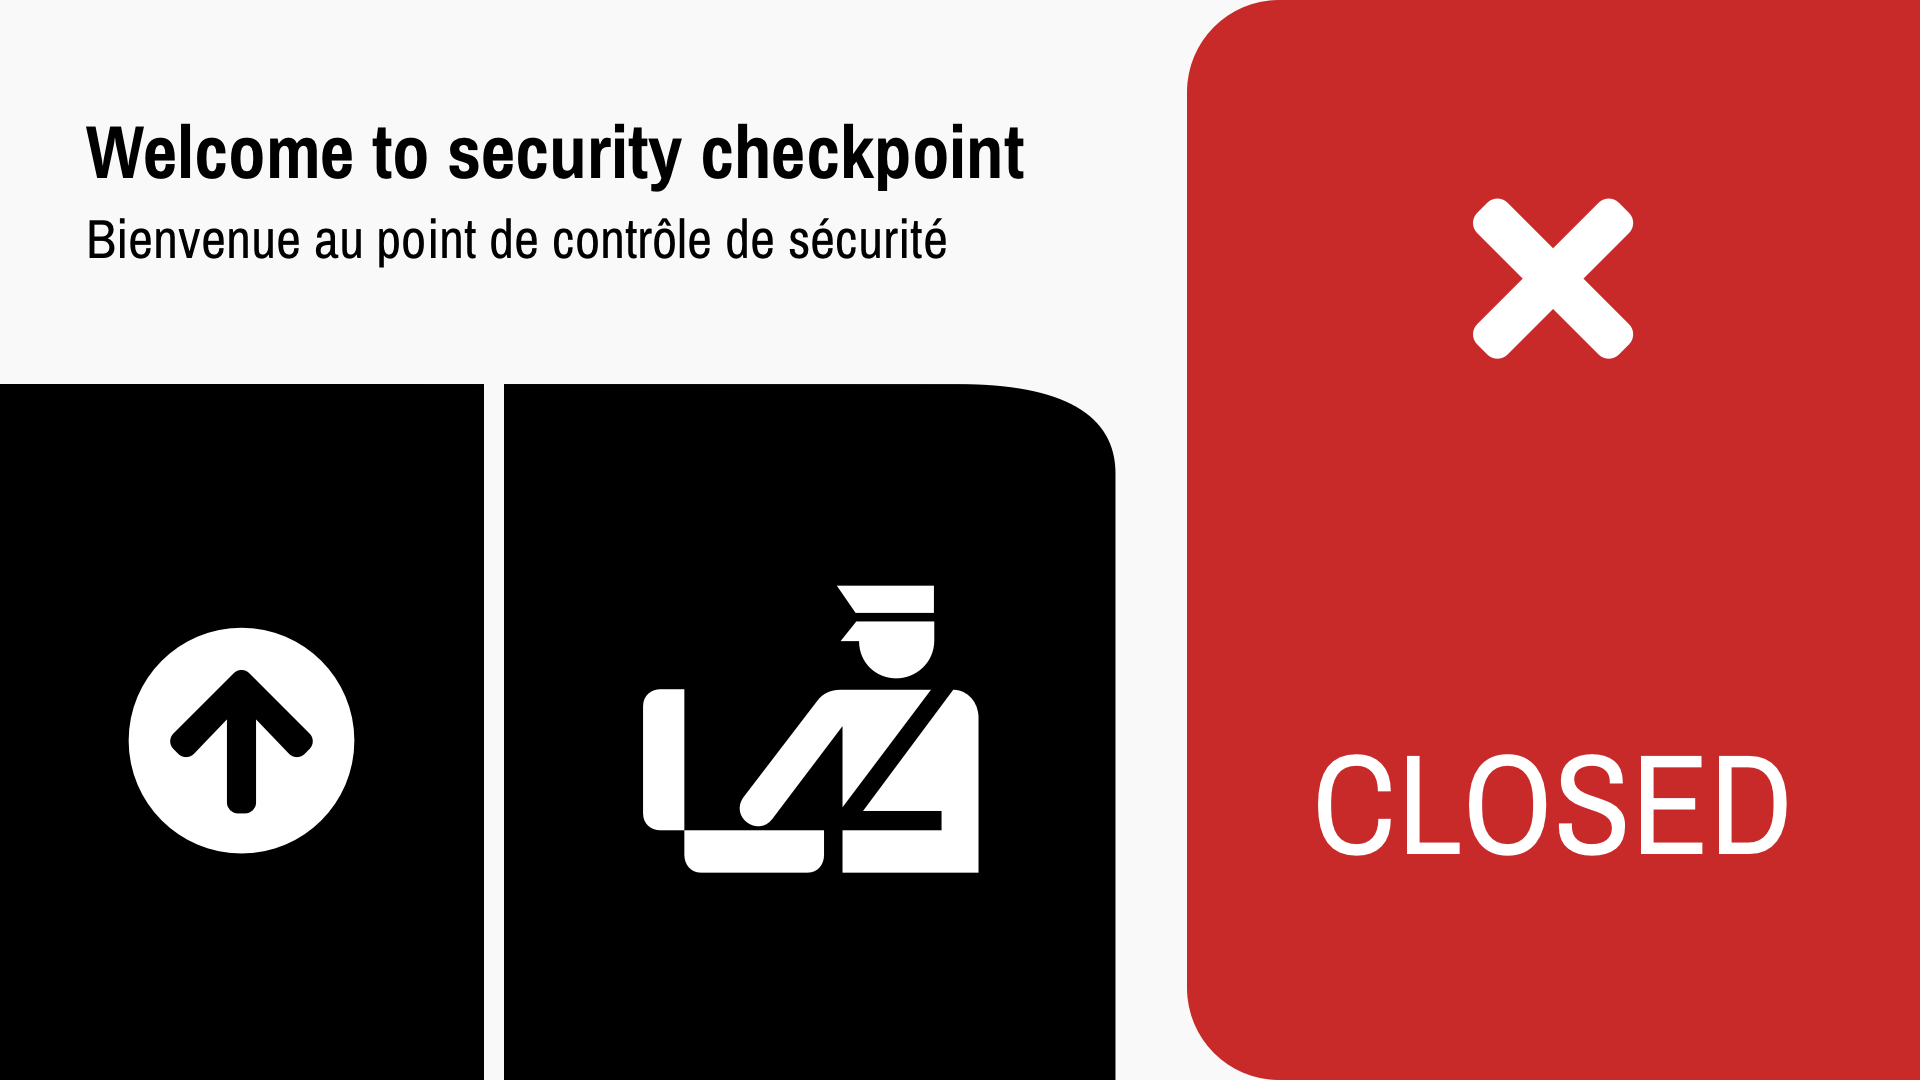
.png)
Download Security Closed image
TUTORIAL STEPS:
Prerequisite: Assign a Security custom field to your display(s) with values according to the default lane/counter situation; see Connect and configure DISPLAYS.
A) Create a new item on the Dynamic media tab.
| .JPG) |
| B) Configure new dynamic media. Dynamic media is configured using a table. Just like in a spreadsheet or database, you can add named columns and rows. For every combination of column and row, an image or video can be uploaded. A dynamic media item can be recalled manually by selecting row & column combinations. The row & column selection can be driven by data such as a custom field or a field in a flight record. A good example is selecting a carrier logo based on the IATA code in the flight record. | .JPG) |
C) For our Security checkpoint display tutorial, we will start configuring a new Dynamic Media table.
| .JPG) |
D) Add media (images) to all possible combinations from the Media Library. Keep in mind that you can always upload new files to the library.
|
Download Security Closed image |
| E) Design new content in the Templates tab - see how to do this in the Create basic STATIC content tutorial. | |
F) Add Dynamic Media to your template.
| .JPG) |
G) Configure the Dynamic Media element.
| .JPG) |
H) Preview the designed content with assigned display configuration to see specific custom field values chosen in your display's configuration on the Displays tab.
| .JPG) |
| I) Click on the Save & Publish button in the lower right-hand corner when your content design is final. Now it is ready to be assigned and shown on your display. | .JPG) |
J) Switch between your security checkpoints closed and open state by changing the Security custom field value in the detail of your display on the Displays tab.
| .JPG) |
.JPG)
.png)
.png)