- 27 Sep 2023
- 1 Minute to read
- Print
- PDF
Create DATA sources for tables
- Updated on 27 Sep 2023
- 1 Minute to read
- Print
- PDF
The Data sources tab allows you to create, manage and debug all necessary data sources for templates and other system features at one place in the display module. It is an advanced administration feature managing large amount of data.
In the previous tutorial, we showed you how to use a simple table wizard in the template designer to create a data list with table data and allow the table data source to be automatically generated. In this tutorial, we'll show you how to create data sources for tables manually so that you can prepare multiple data sources for the same table in advance. This is necessary if you want to create multiple data lists in the same template using the Simple table wizard, where each individual data list will use a data source with different constraints for that table, resulting in different table data being displayed in each of the data lists. The data source constraints themselves, set by such functions as filter, sort, limit, and offset, will be described in the next tutorial.
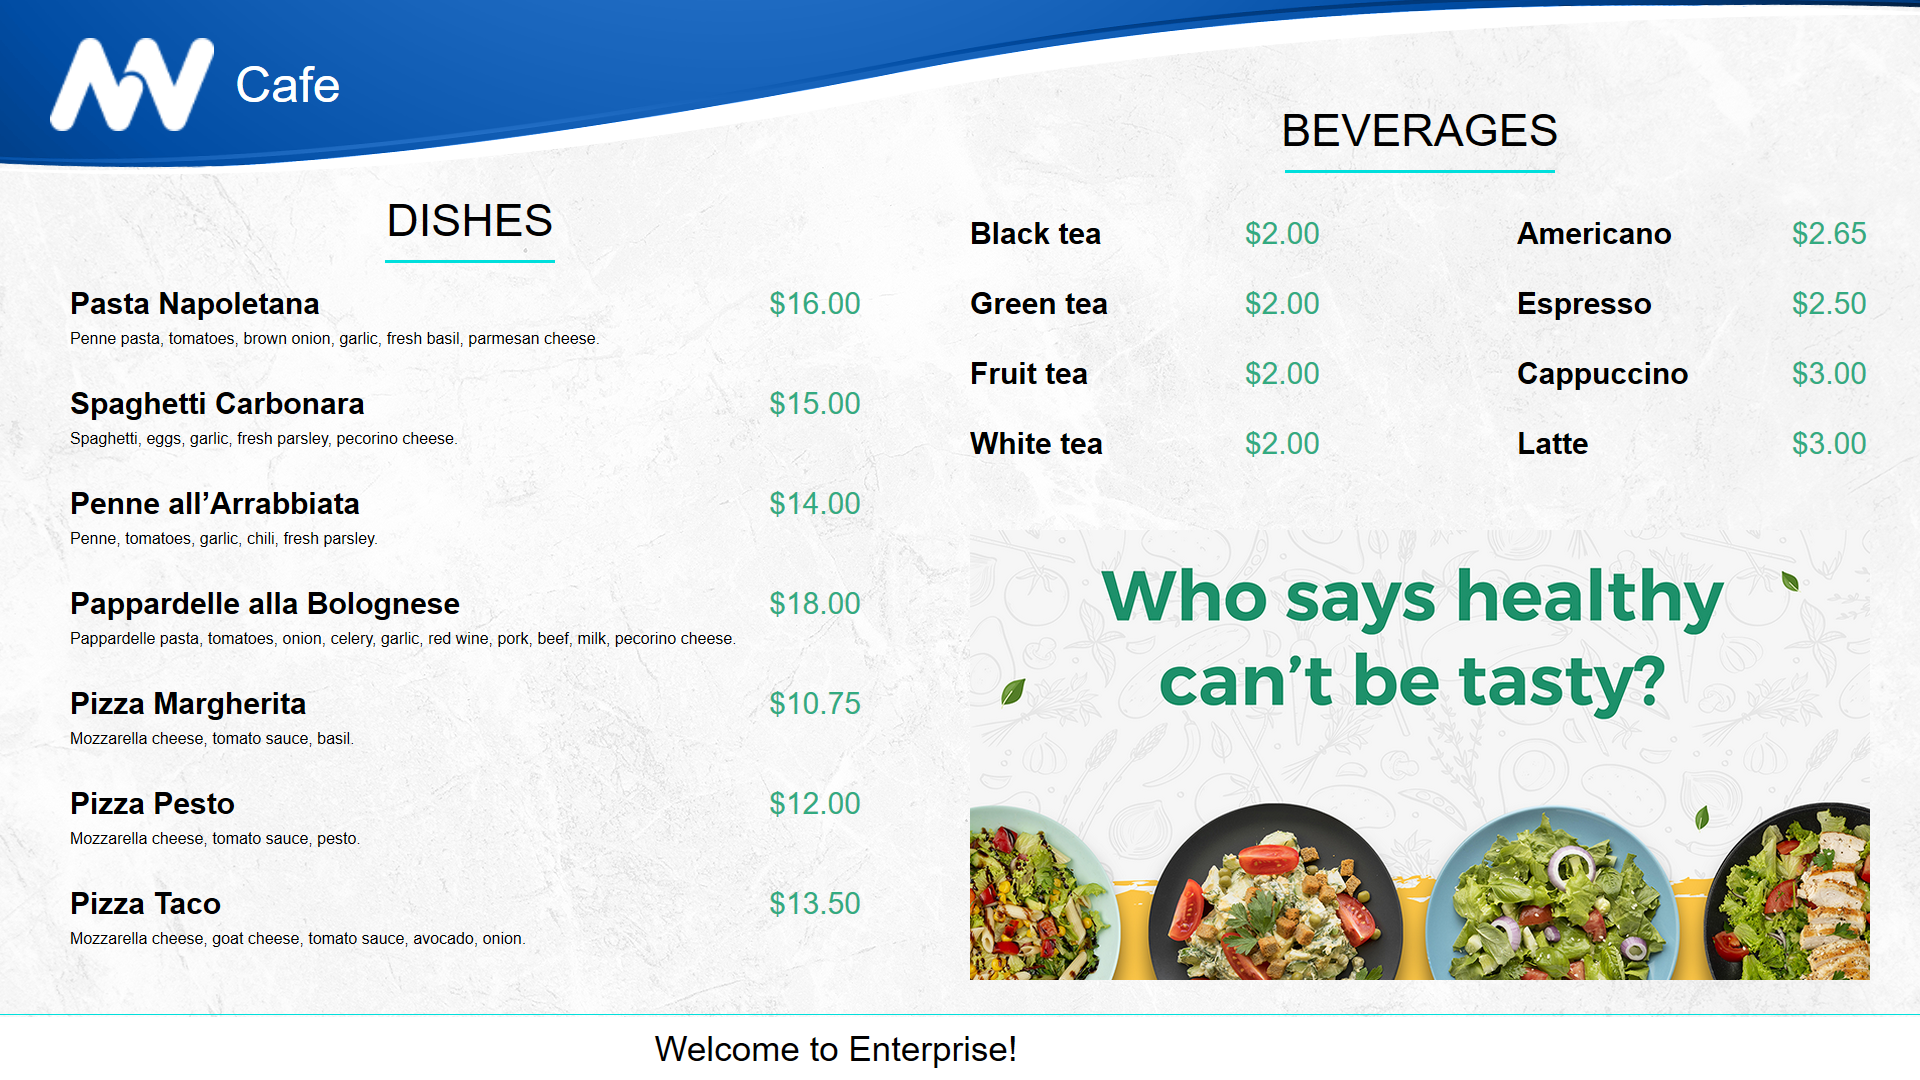
Imagine the Use case that you have one Beverages table created on the Tables tab and on your Template you want to show separately different tea types and coffe types. So you create two data sources, one filtered on tea and the second on coffee, see right part of the sample screen.
Sample screen:

TUTORIAL STEPS:
| A) Create a table on the Tables tab - see how to do this in the previous Create and manage your tables tutorial. | |
B) Create a new data source
| .JPG) |
C) New data source item.
| .JPG) |
D) New fields become available after selecting the data source type:
| .JPG) |
| E) A new Tables sub-window opens where you can select your table. | .JPG) |
| F) The basic table data source configuration is complete and you may click the Save button. The data source for your table is created and you can use it in your templates. | .JPG) |
G) Advanced configuration using available functions such as filter, sort, limit and offset are described in the next tutorial. Continue with the tutorial Constrain data sources for tables. | |

