Description
Replace the microphone on your micnode2 microphone station.
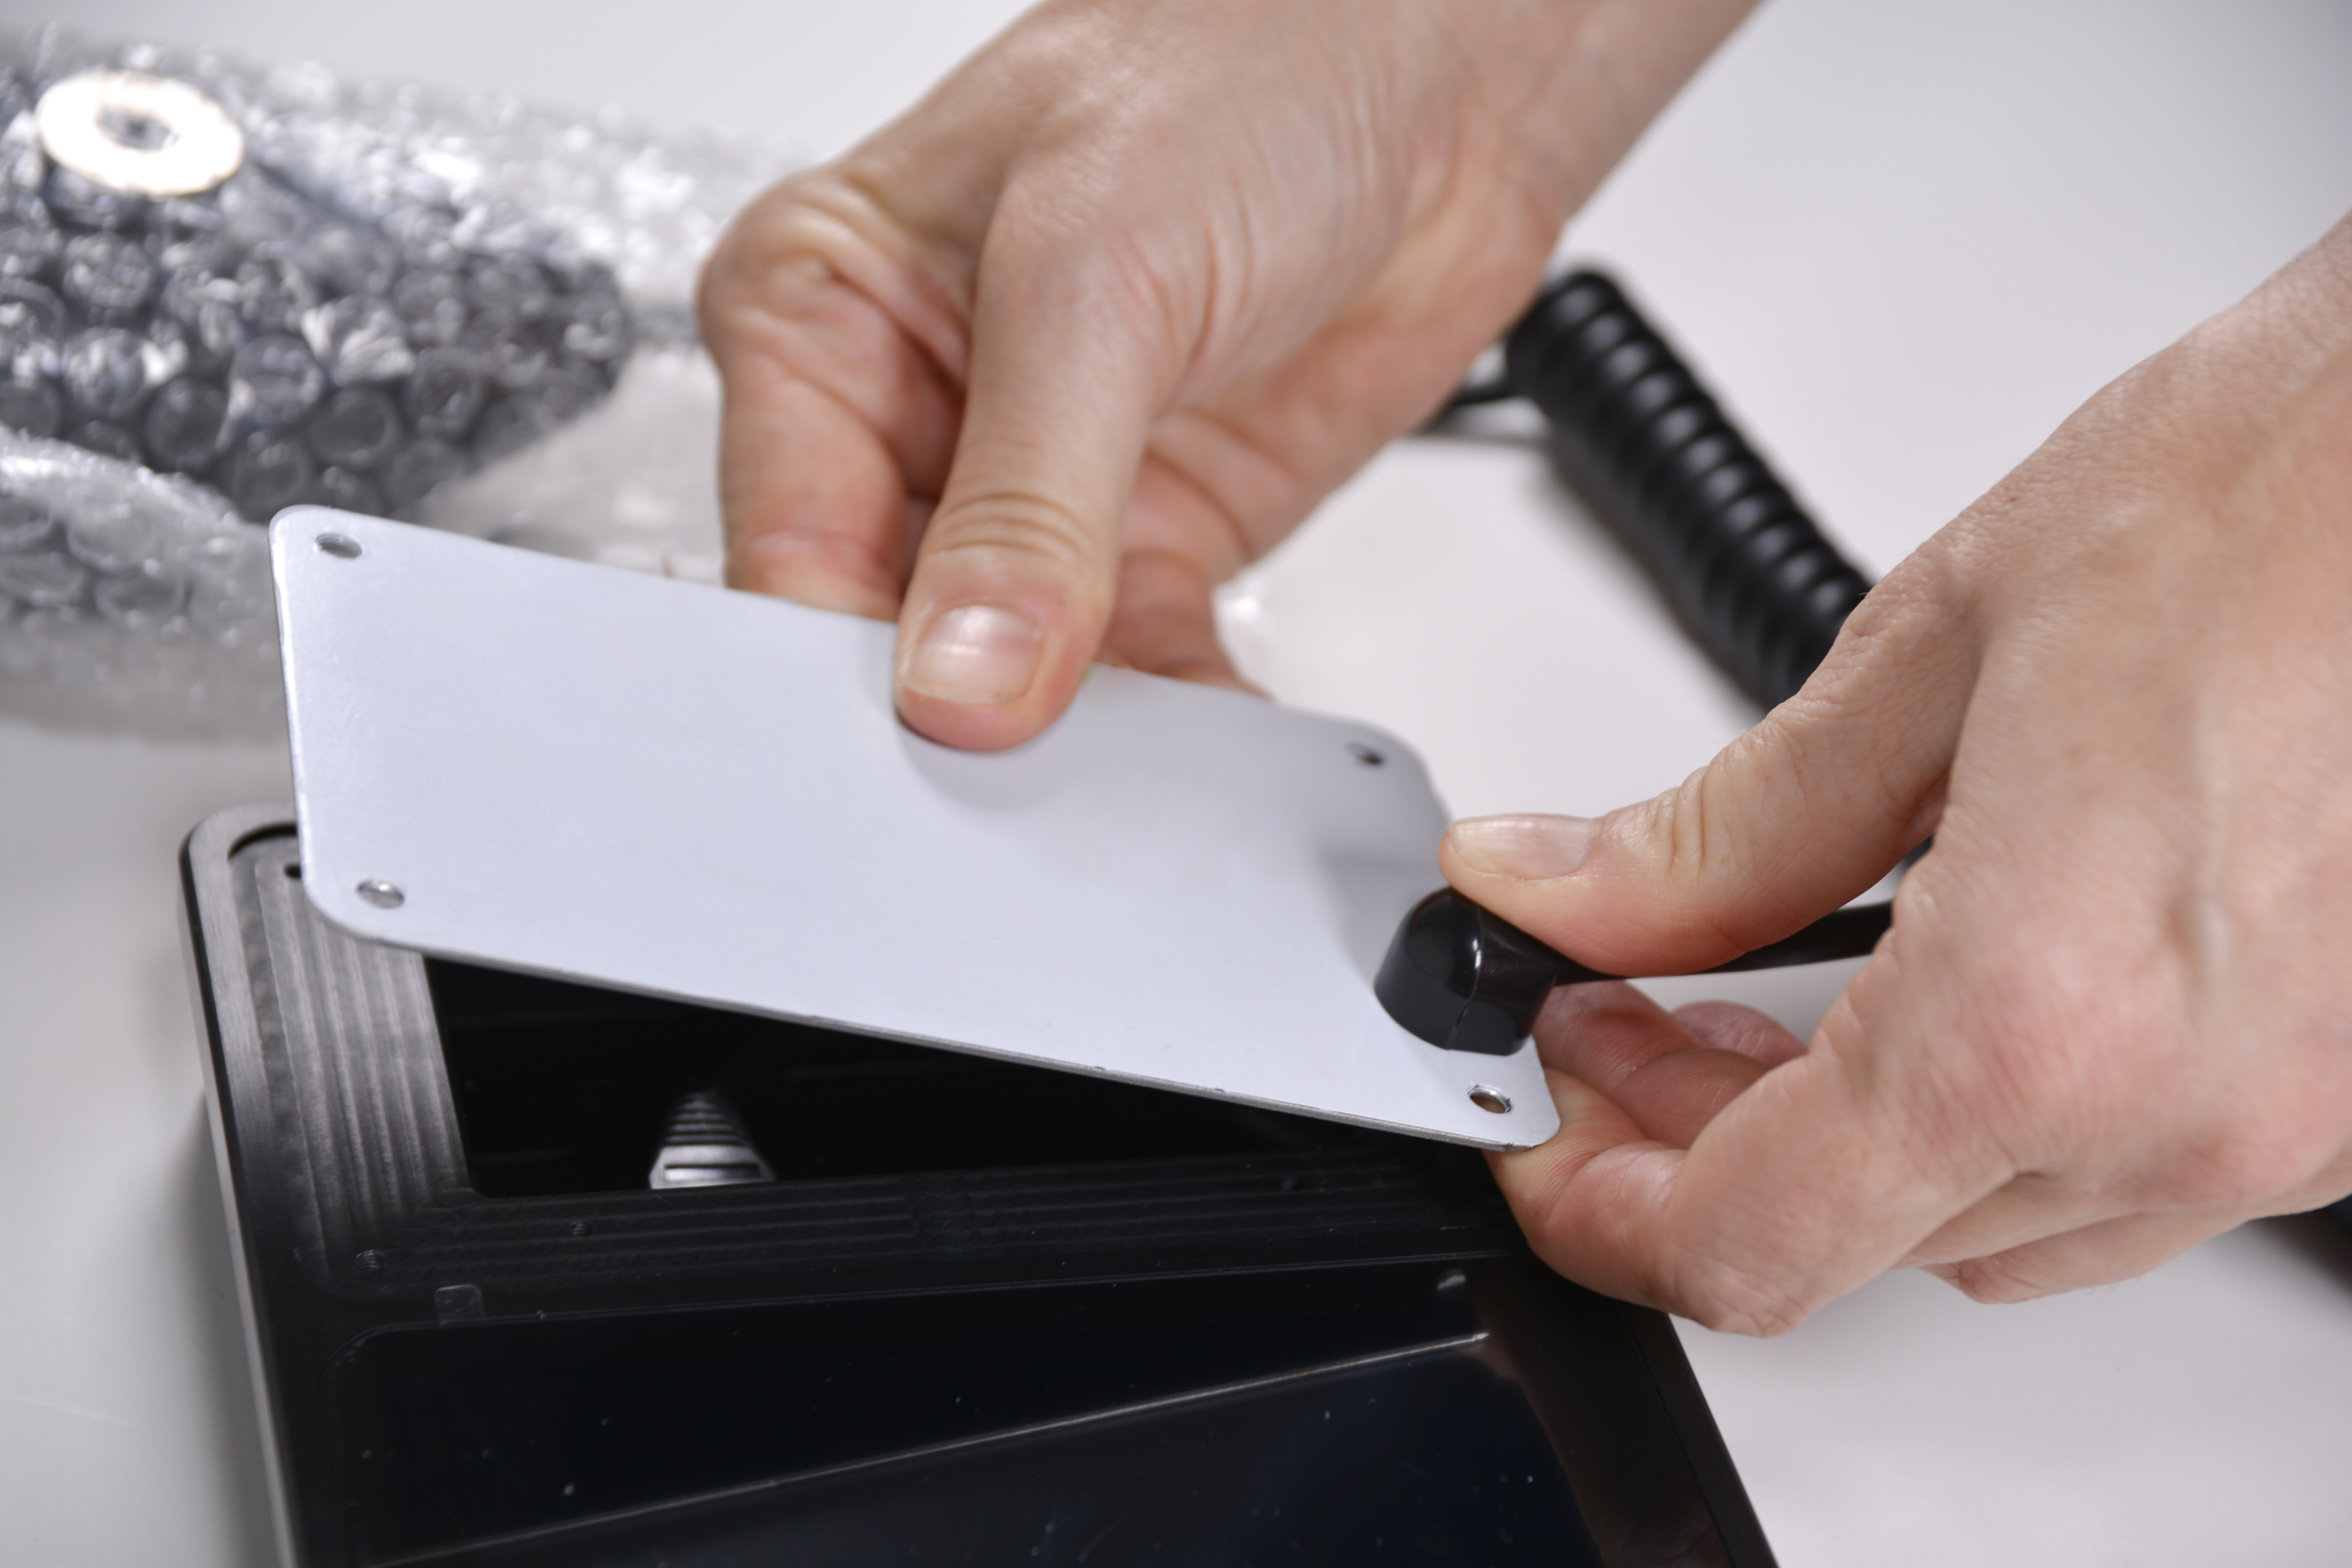
| A. Remove the 4 screws from the magnetic docking plate from the device. | 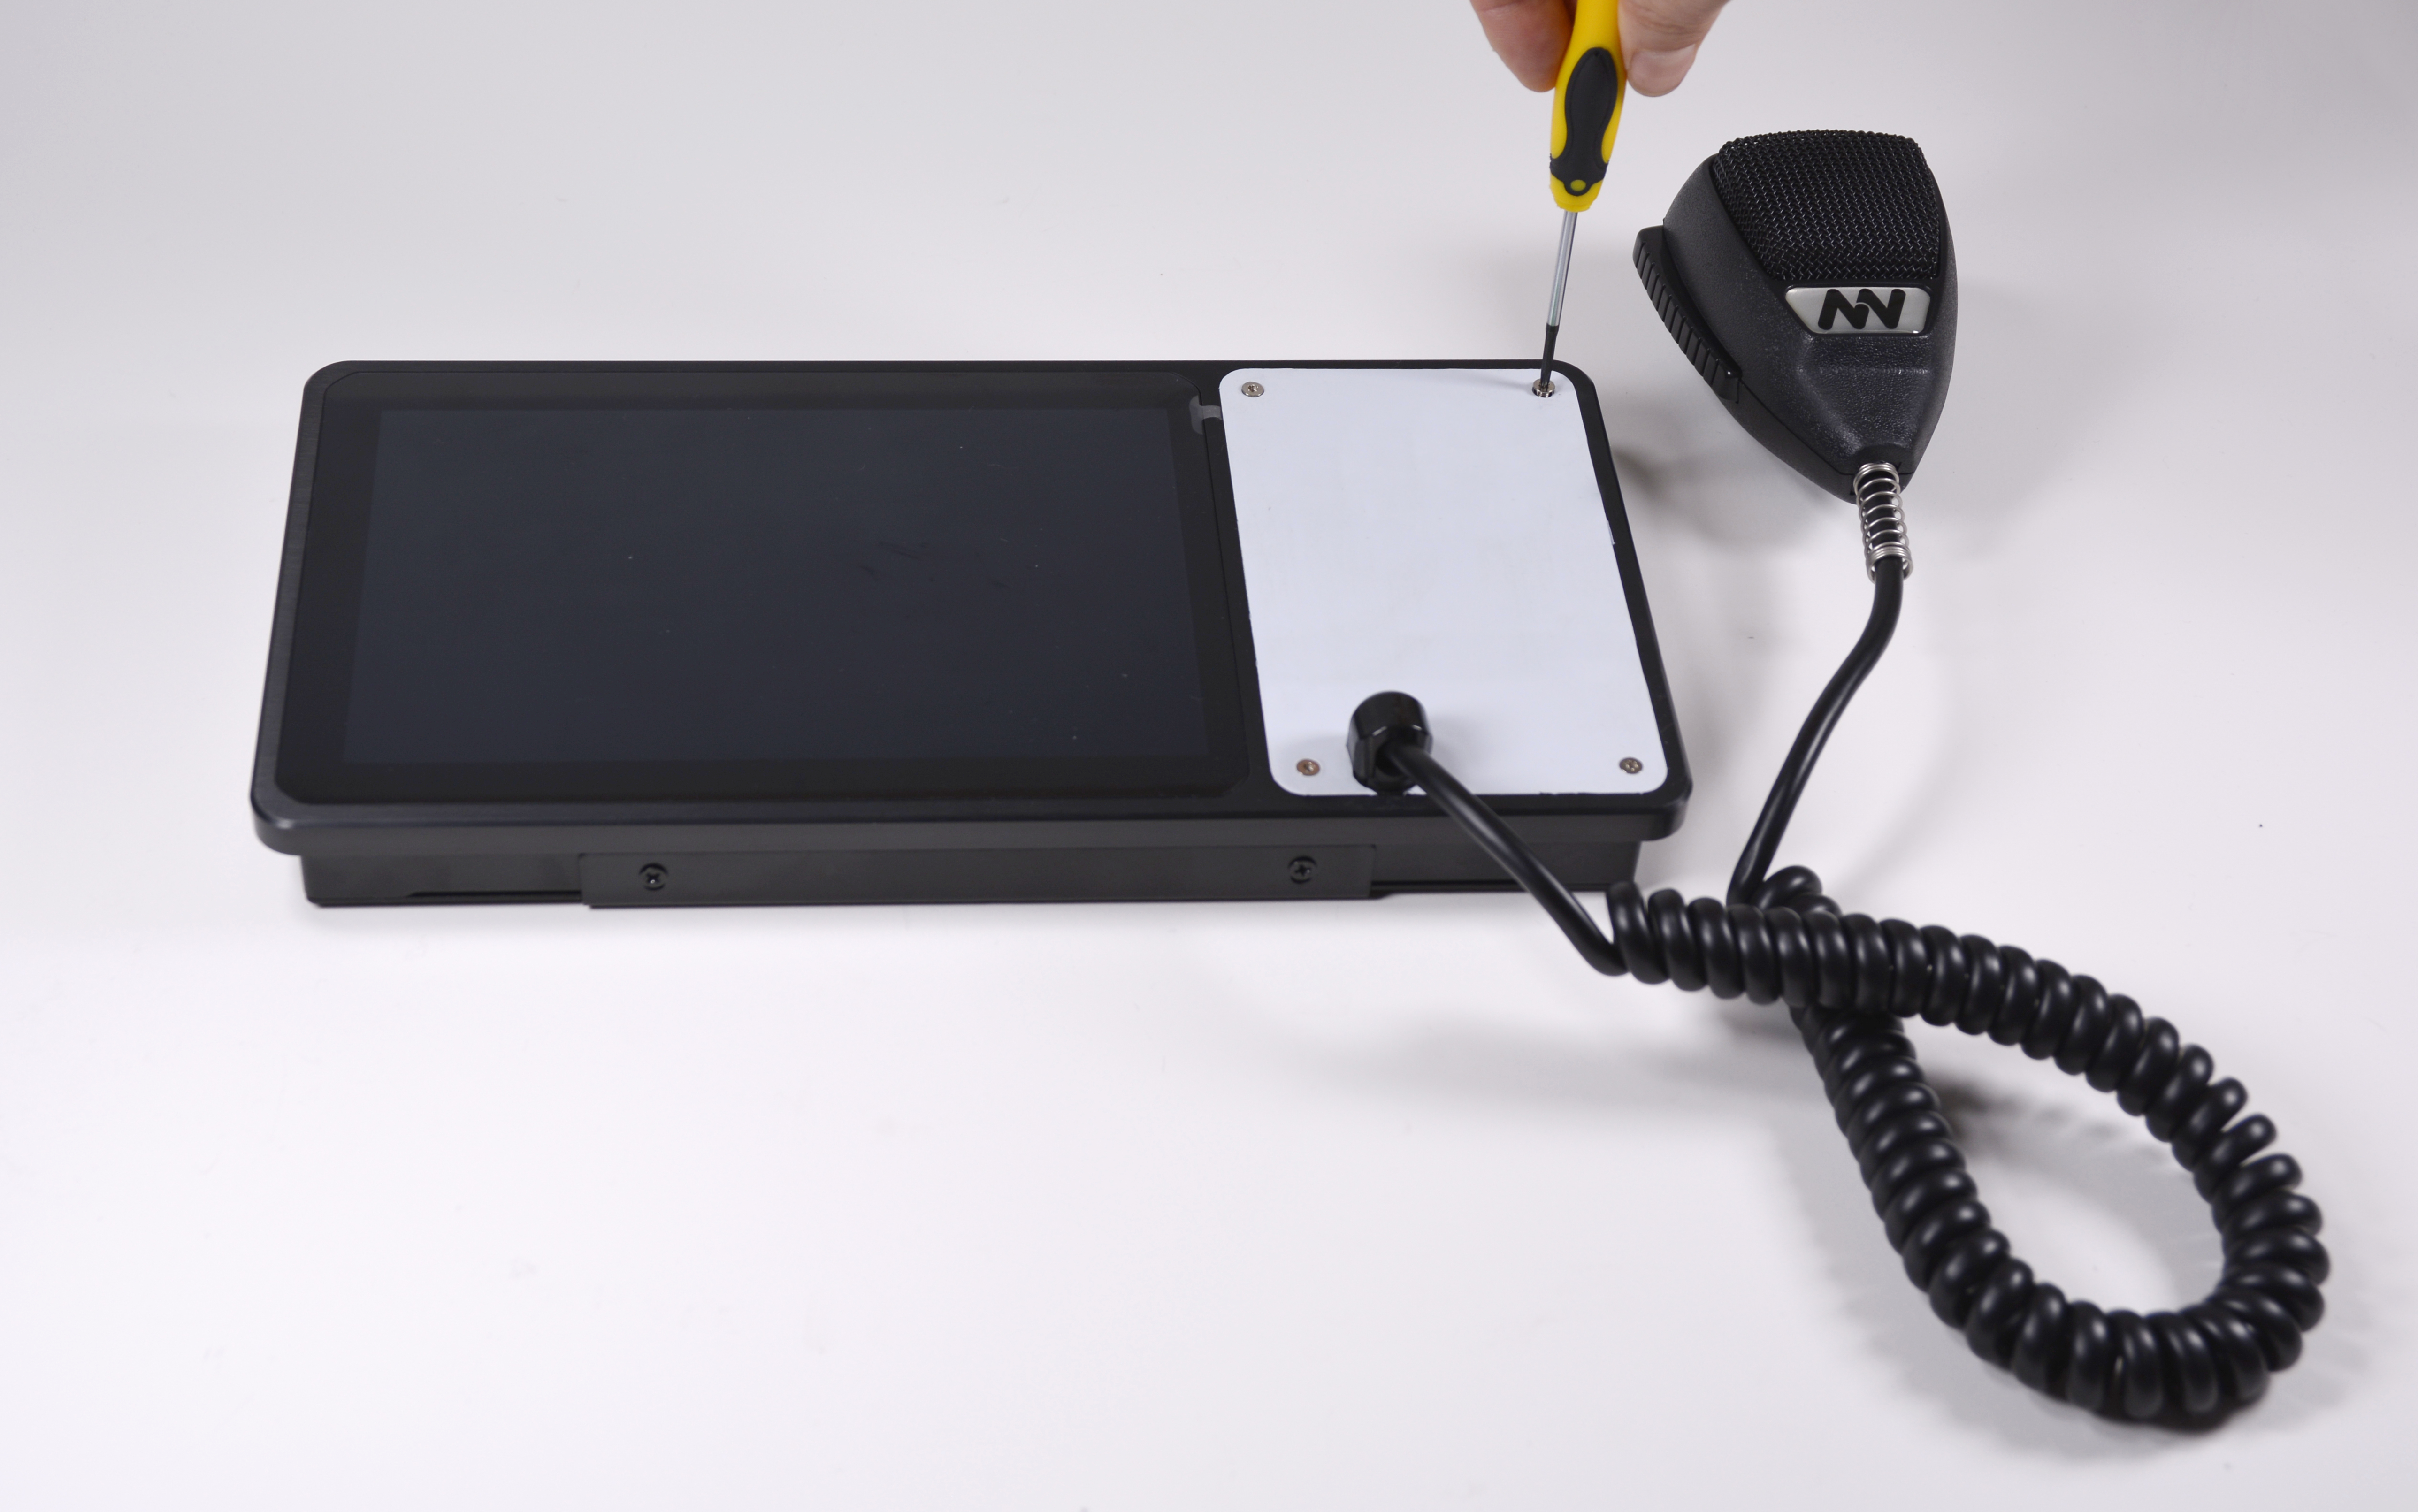 |
| B. Open the chassis by moving the microphone cable with light side-to-side movements and remove the docking plate. | 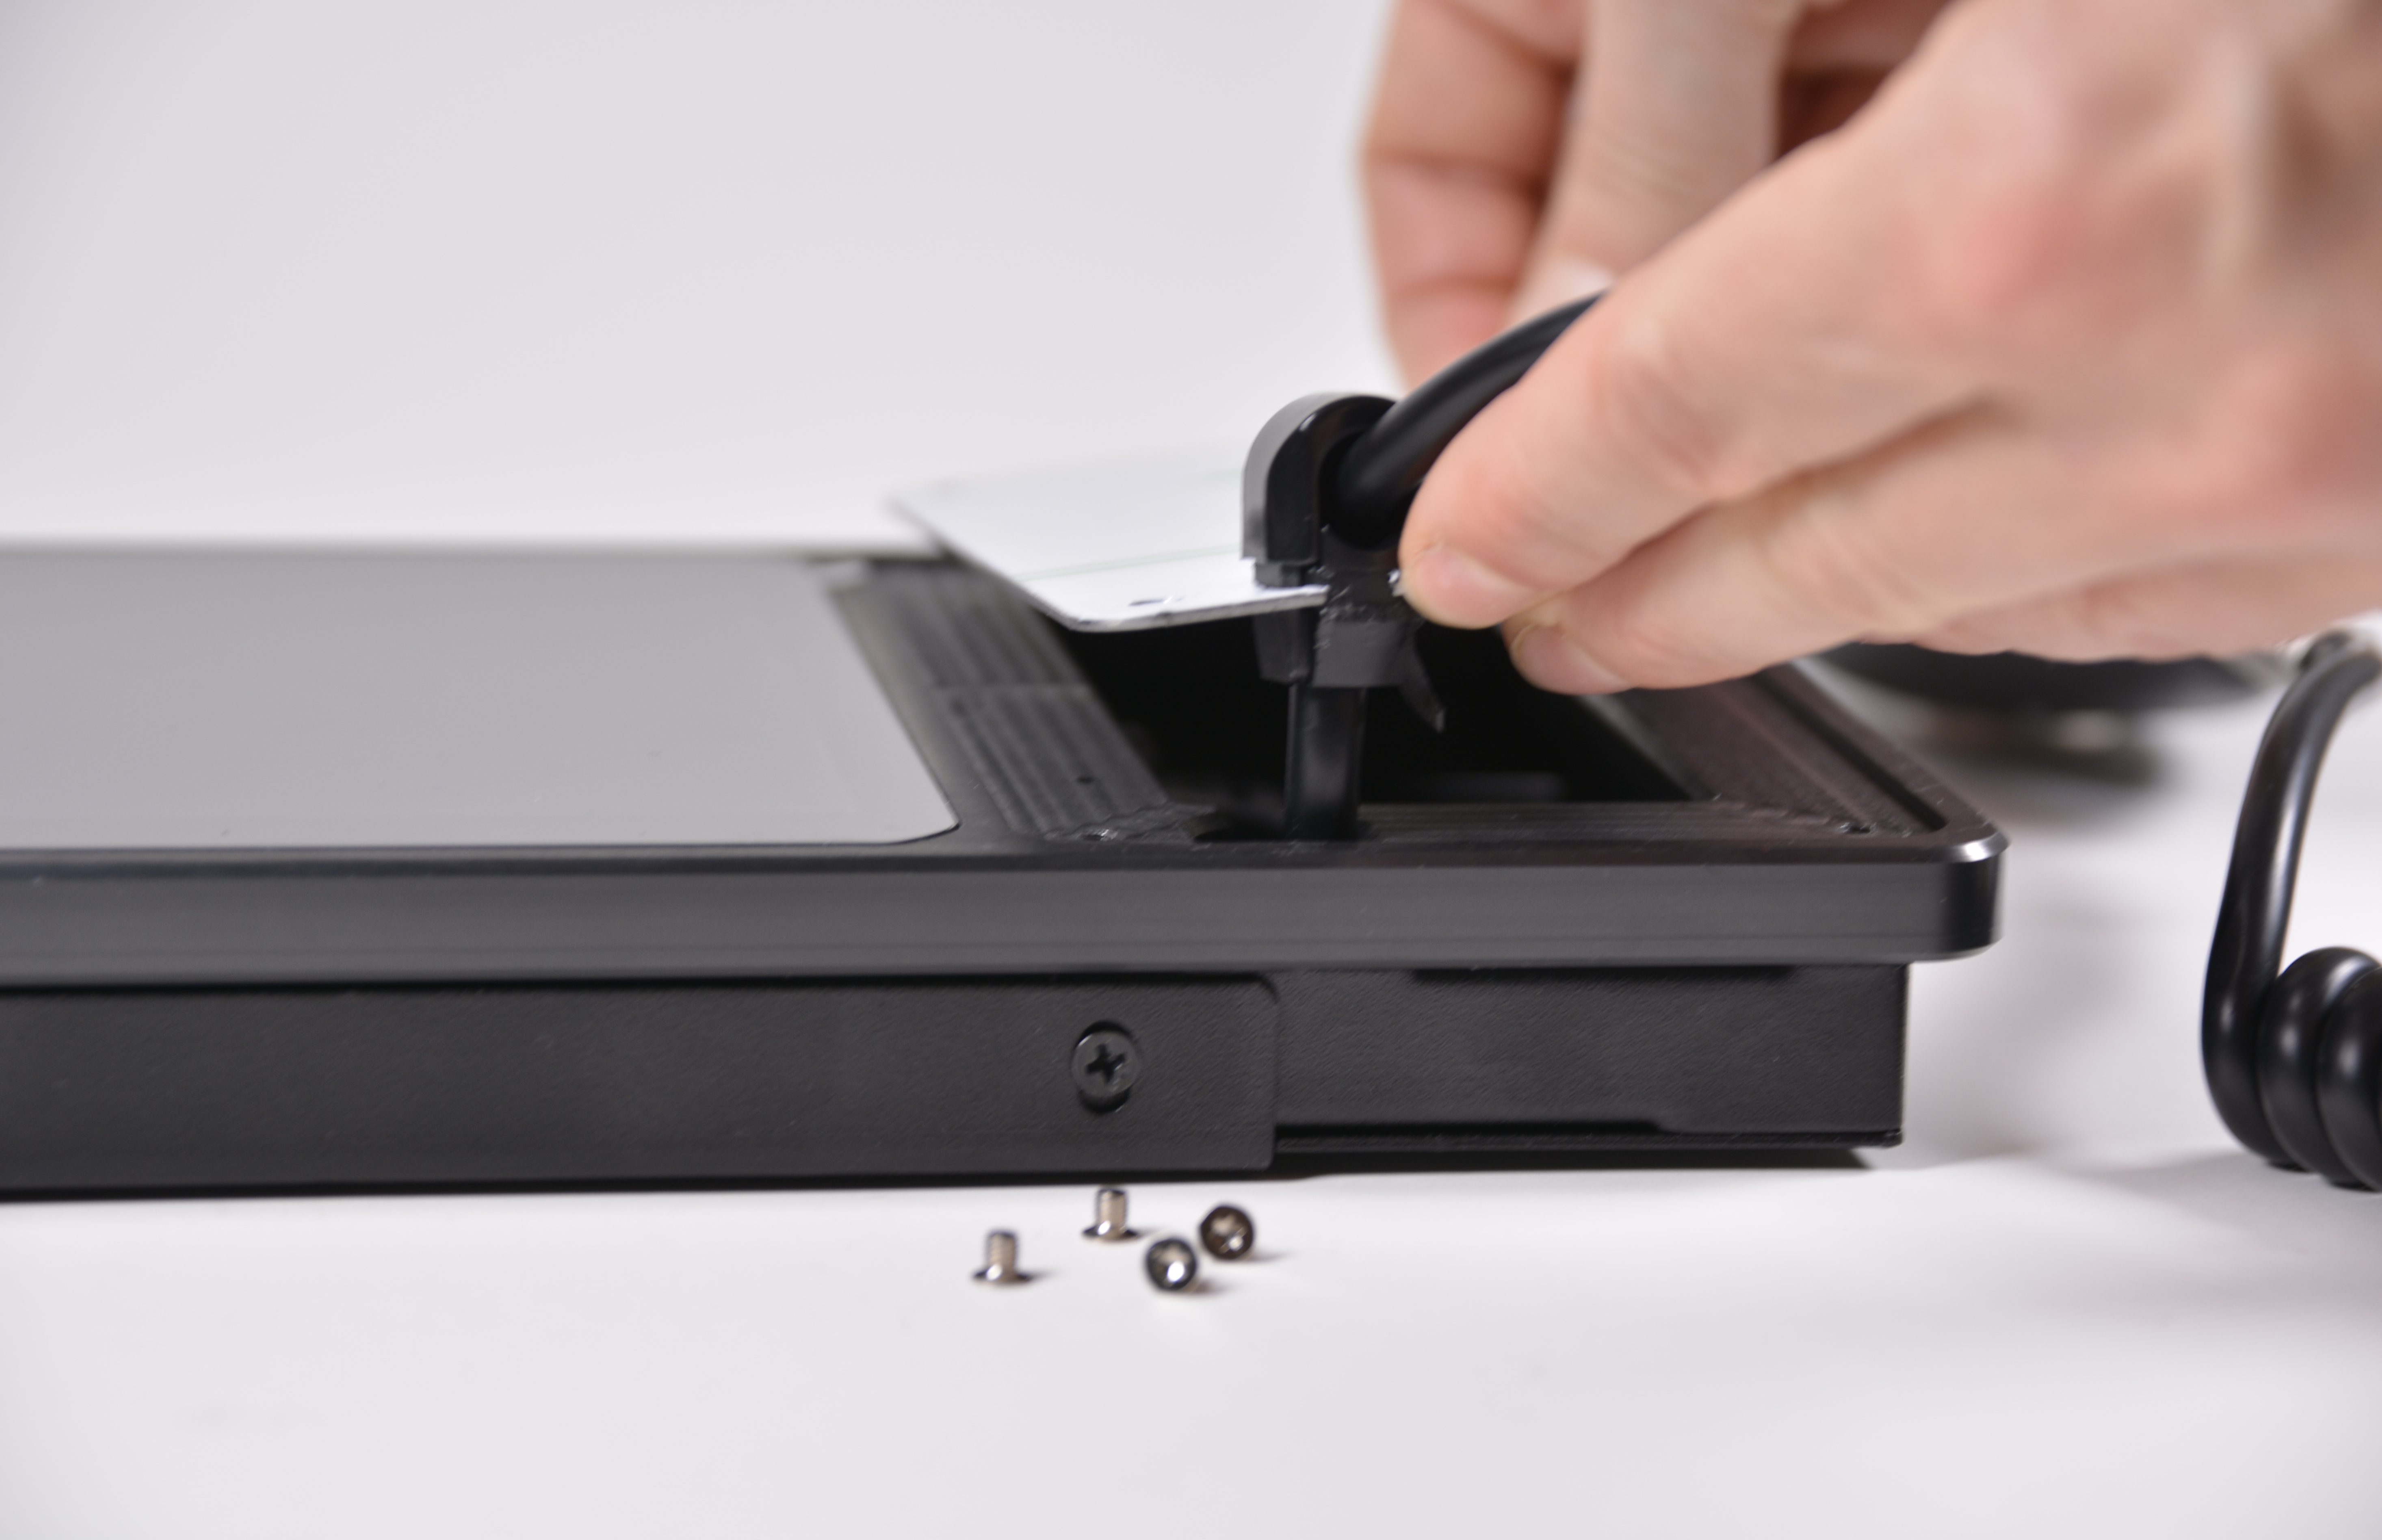 |
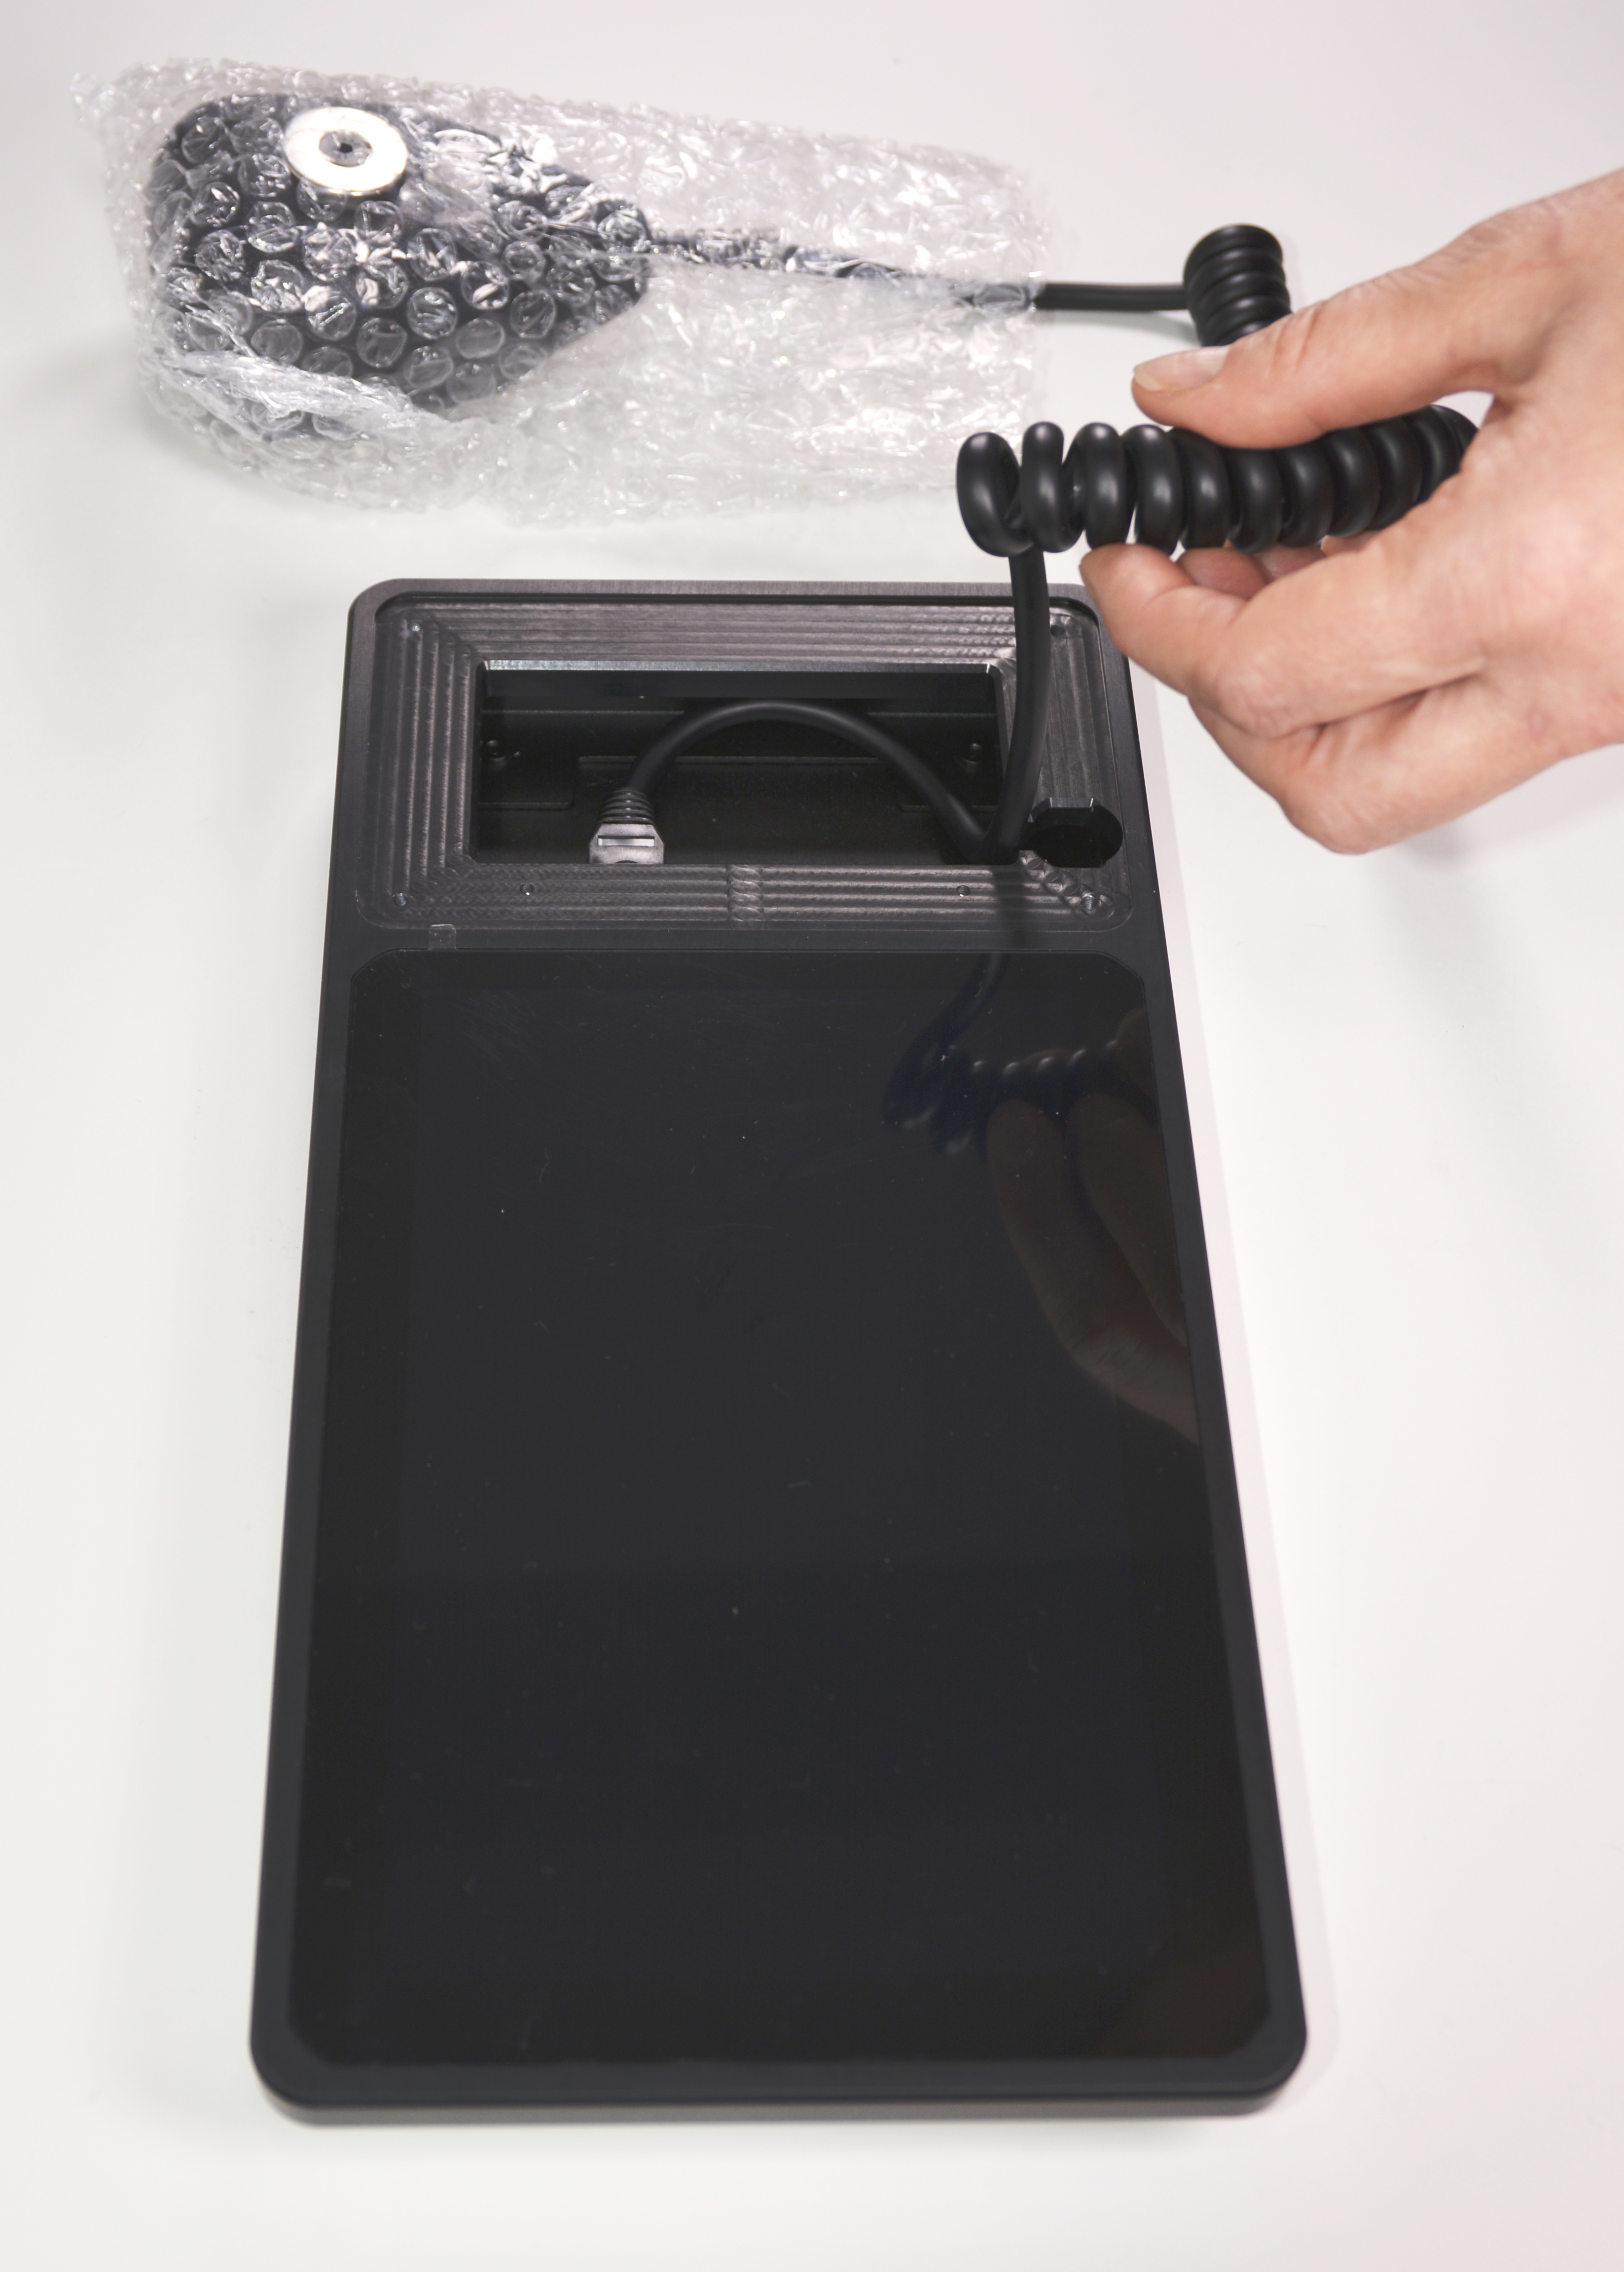
| C. Unplug the connected microphone by pressing the beak on the top of the connector and pulling it out of the socket. | 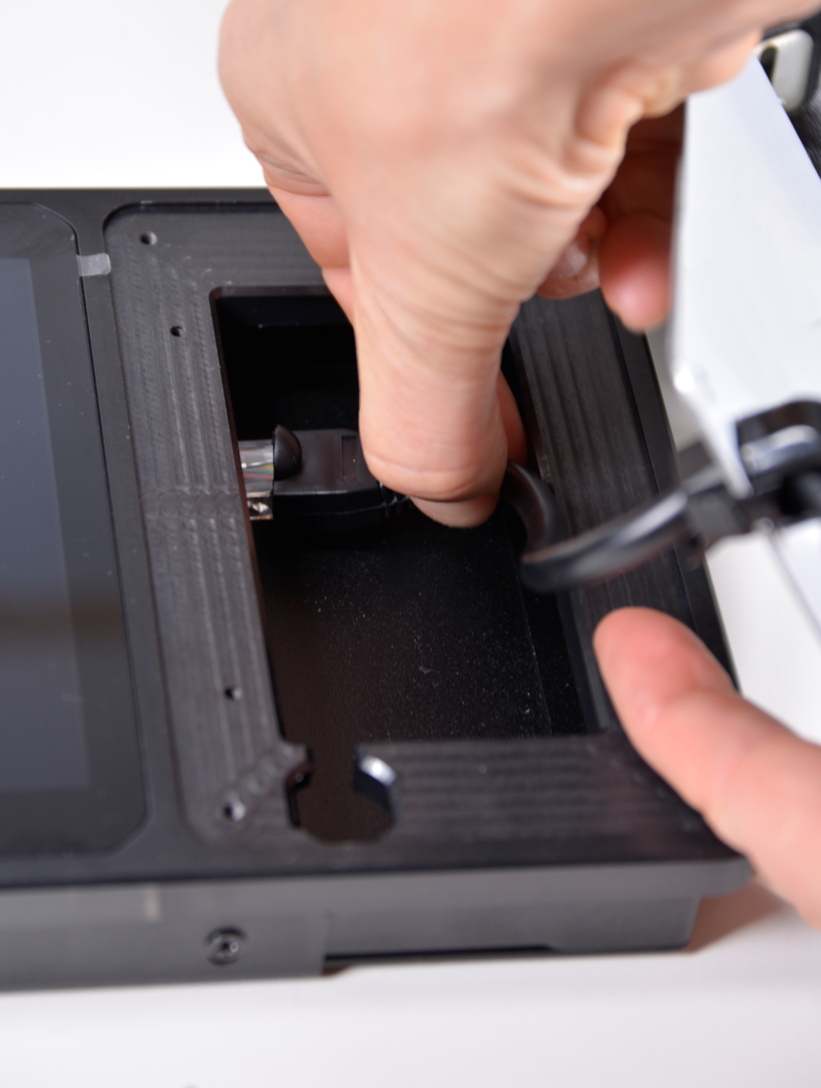 |
| D. Remove the cable from the docking plate by pulling the cable out with light force. | 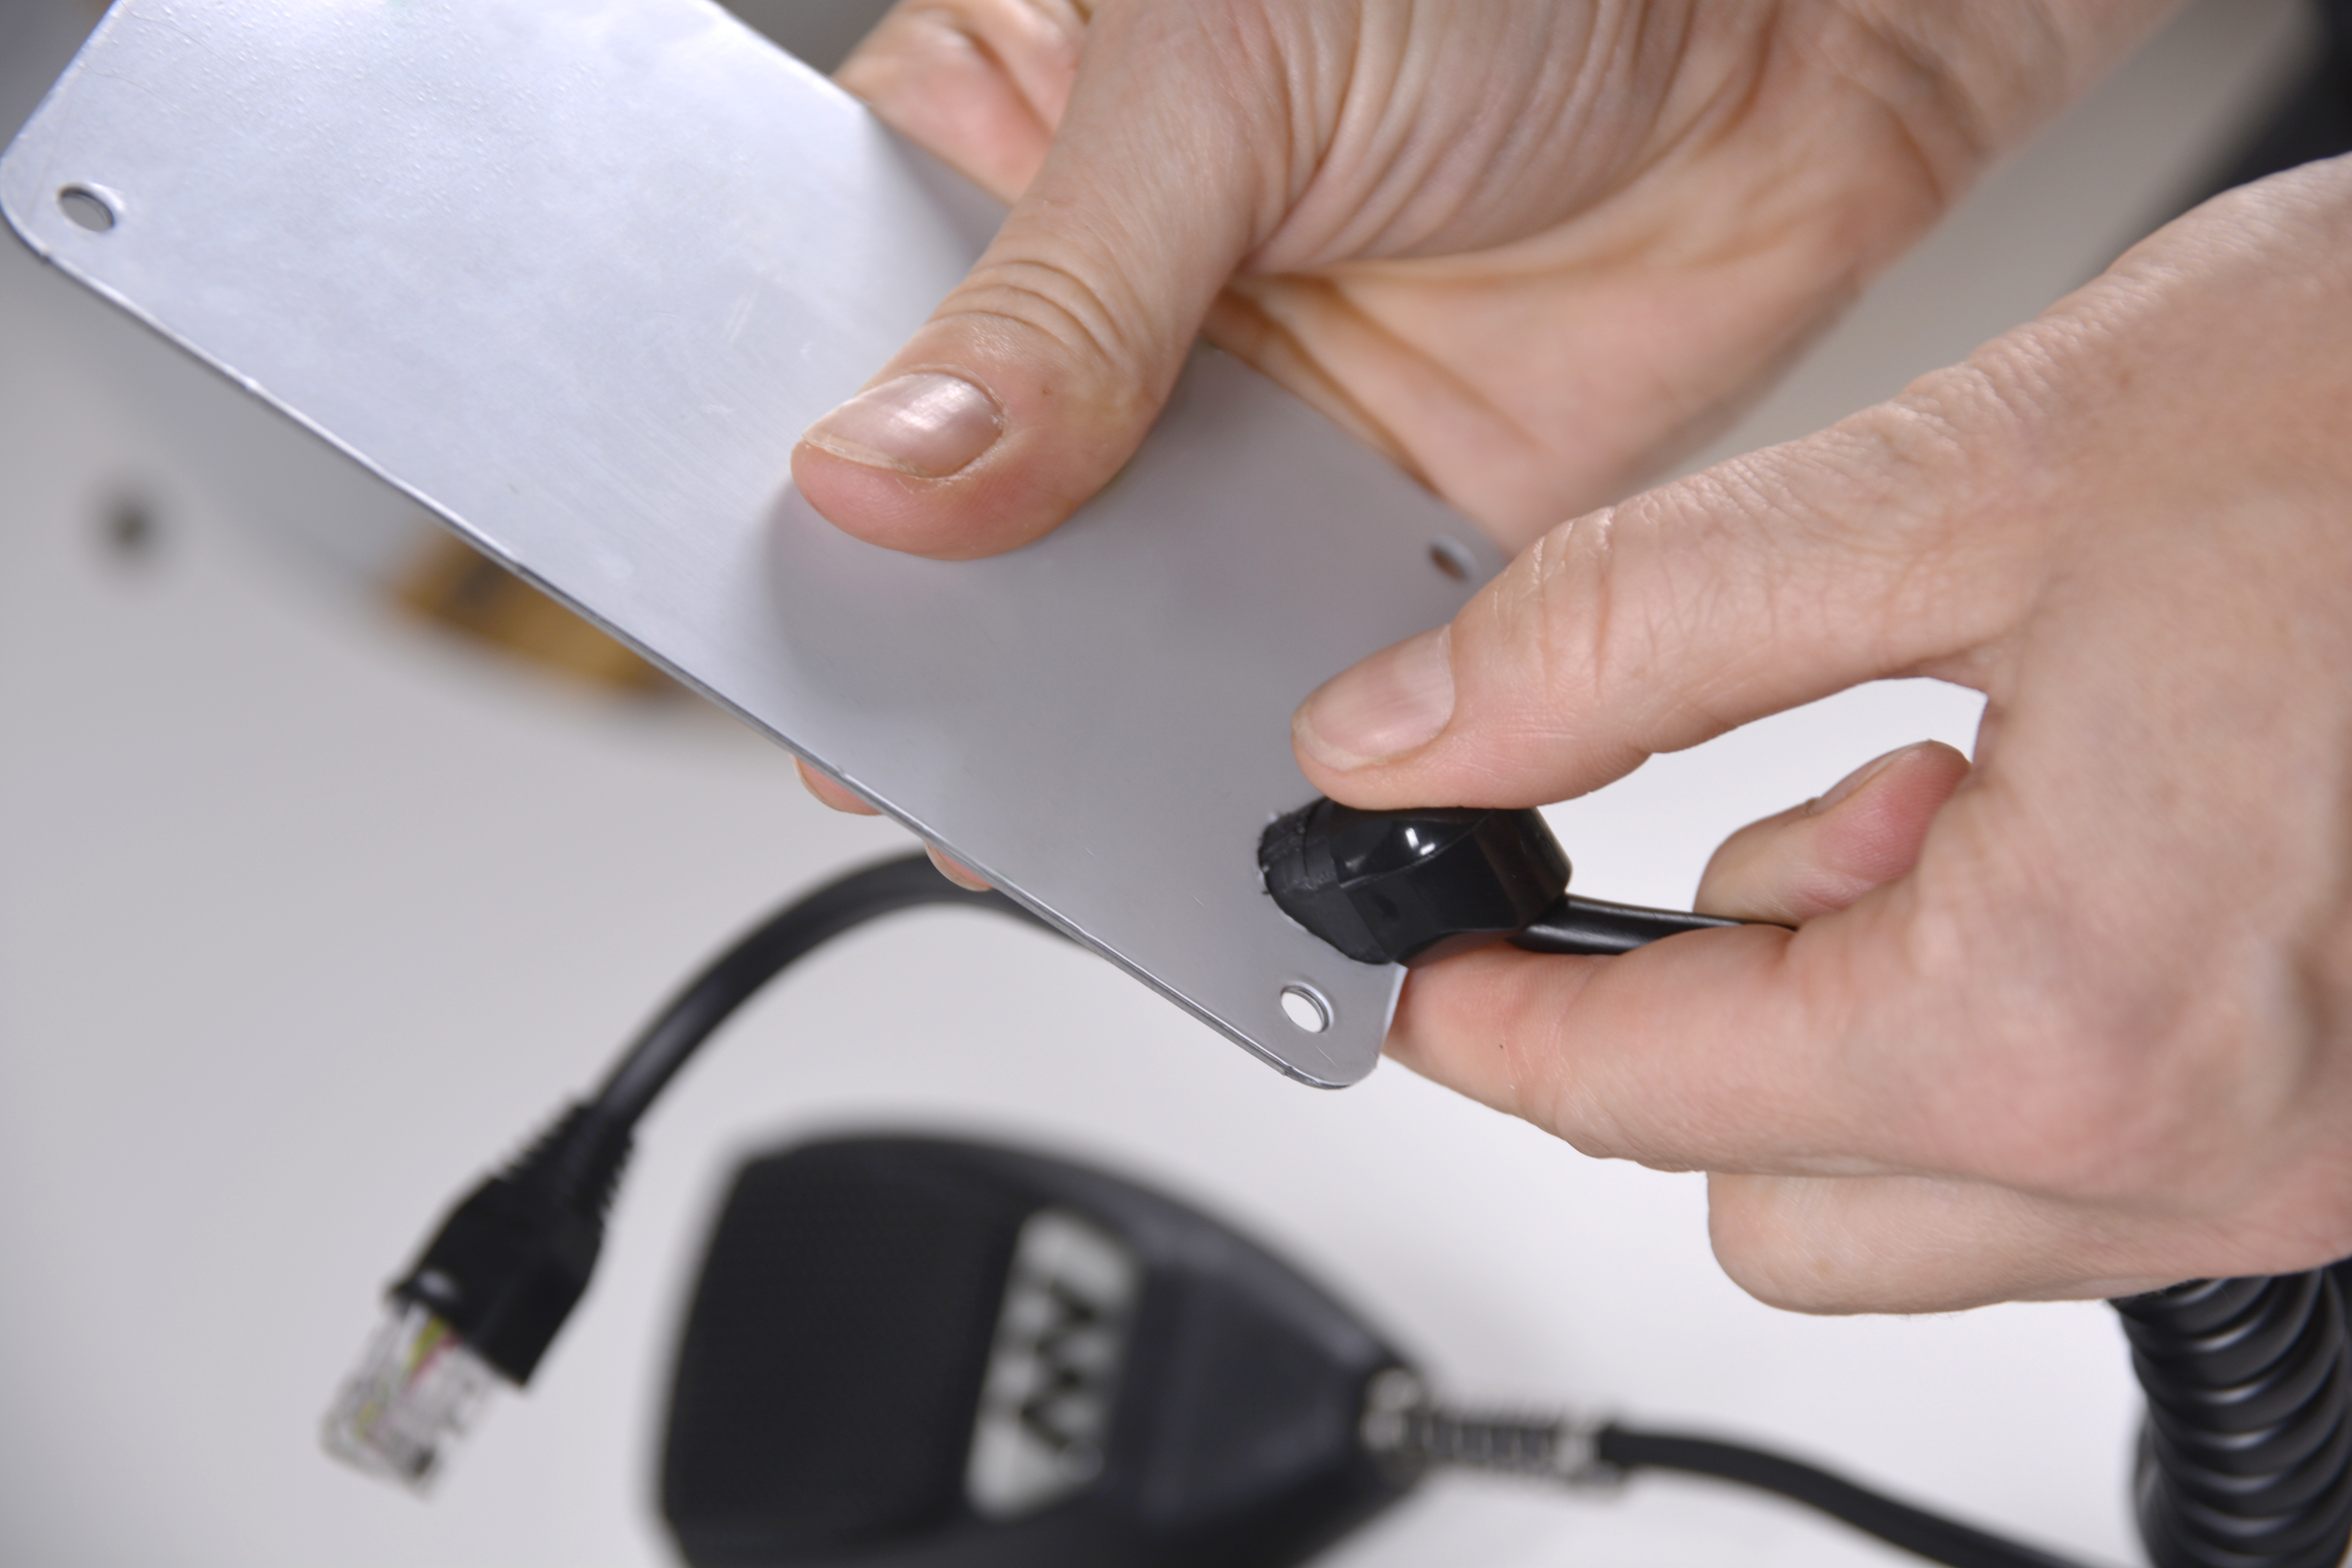 |
| E. Connect the NEW microphone by plugging the microphone connector into the Ethernet port. |
|
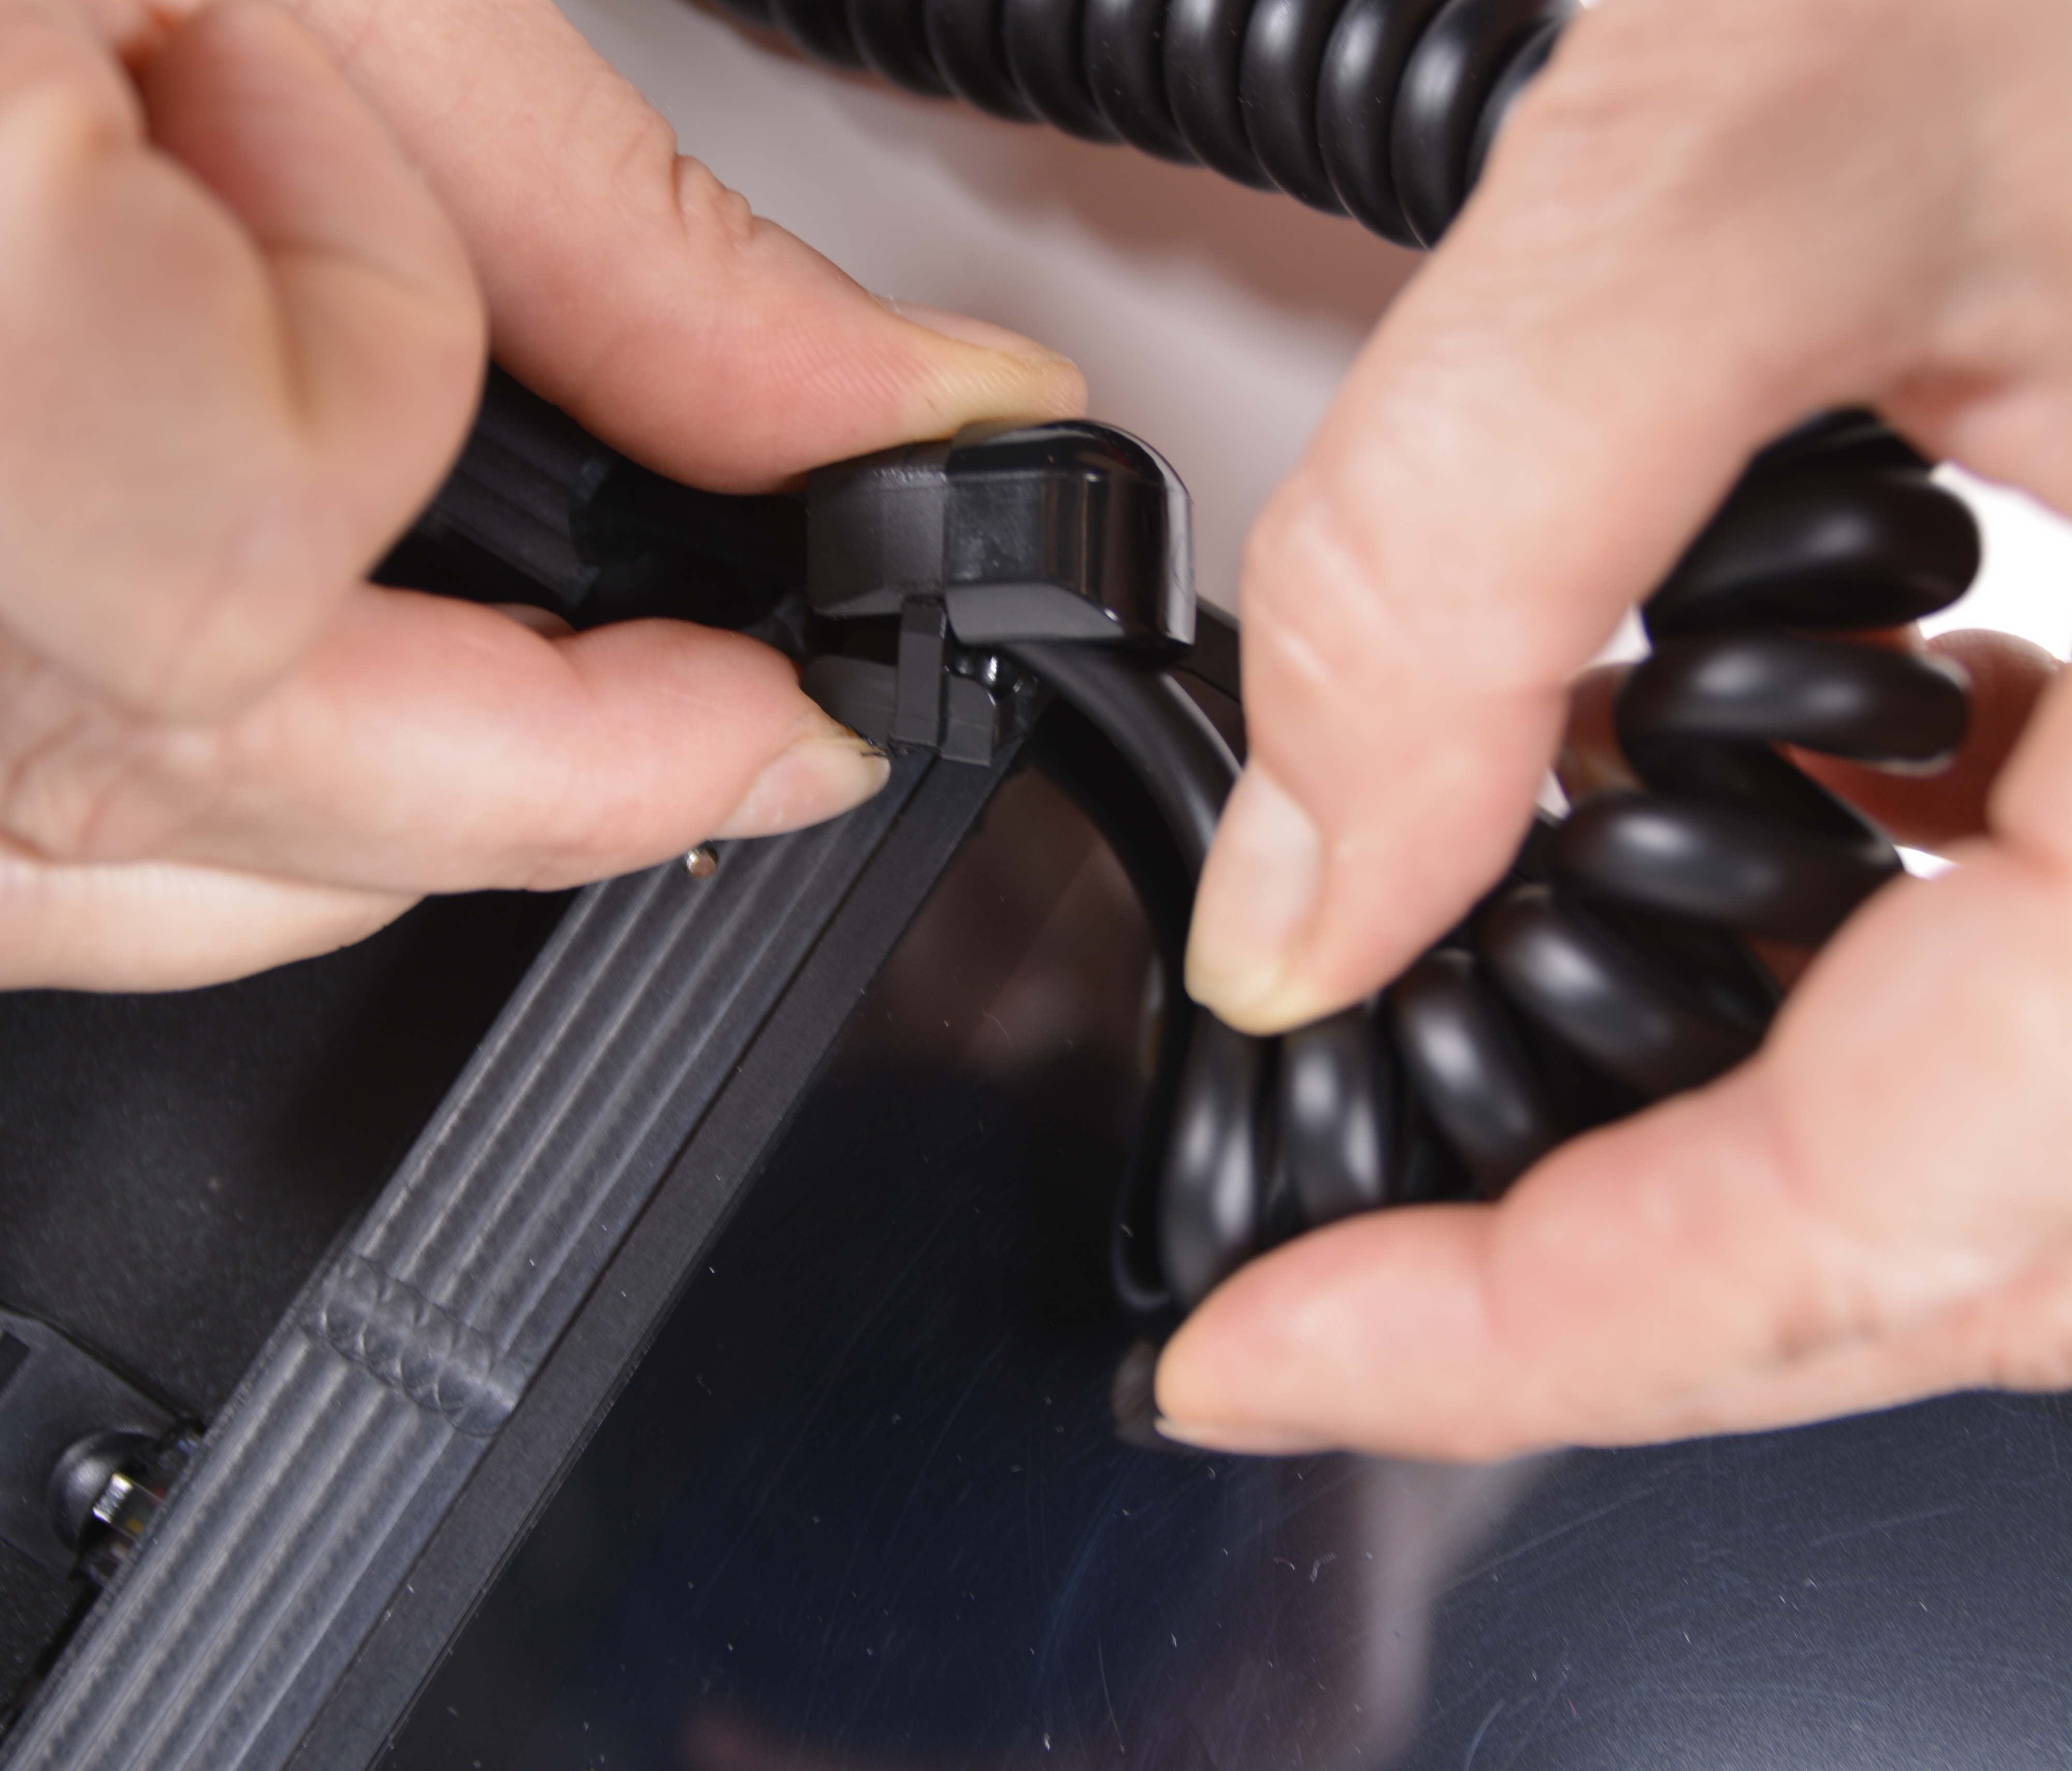
F. Remove the cable strain relief from the old microphone cable and place it on the cable of the new microphone.
|  |
G. Put the docking plate back in place.
|  |
The micnode2 device is ready to use with the new microphone.