The micnode2h device utilizes power over Ethernet, combining power supply and communication. Therefore, begin by connecting the device to your network with a LAN cable and then proceed to establish the network connection. Access the nnounce configuration UI to define the LAN setup. If you are incorporating the micnode2h station within a Q-SYS installation, you will perform further steps in the Q-SYS Designer and download the micnode2 plugin. This configuration is auto populated to the nnounce ecosystem and micnode2h station and vice-versa. To complete your configuration, set up streams and define the external application or UCI you will use for paging from the station, or you can use the built-in paging dashboard.
Description
Connect your micnode2h device to your network with a data communication cable CAT5 with a RJ45 connector. The network switch port needs to conform to IEEE 802.3af standards as the device uses power over ethernet.
CAUTION: The device uses power over ethernet (PoE) and requires a network switch port complying with IEEE802.3f standards.
TIP!
Use the nnounce Discovery tool to automatically detect your nnounce device using network service discovery.
Find the tool in the nnounce Download center - https://www.nnounce.com/download-center
NOTE: Use the LAN B port for a secondary connection if required.
Connect the device with the LAN A port. NOTE: Ensure that the locking tab on the plug of the cable snaps into the RJ45 connector of the device rear panel
Connect the device to the network, with DHCP enabled.
Use a computer with an Internet browser and search for your micnode2h device by typing into the computer URL https://micnode2h- and the last 6 digits of the MAC address of your device, which you can find on the product sticker of your device.
Example: https://micnode2h-900078 or https://micnode2h-900078.local
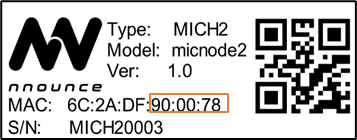
IMPORTANT: Instead of 900078 enter the last 6 digits of the MAC address which you can find on you micnode2h device.
NOTE: The device is using mDNS.
Your web-browser shows the welcome page of your micnode2h device.
Follow the first login wizard to set the password for your device's admin user account:
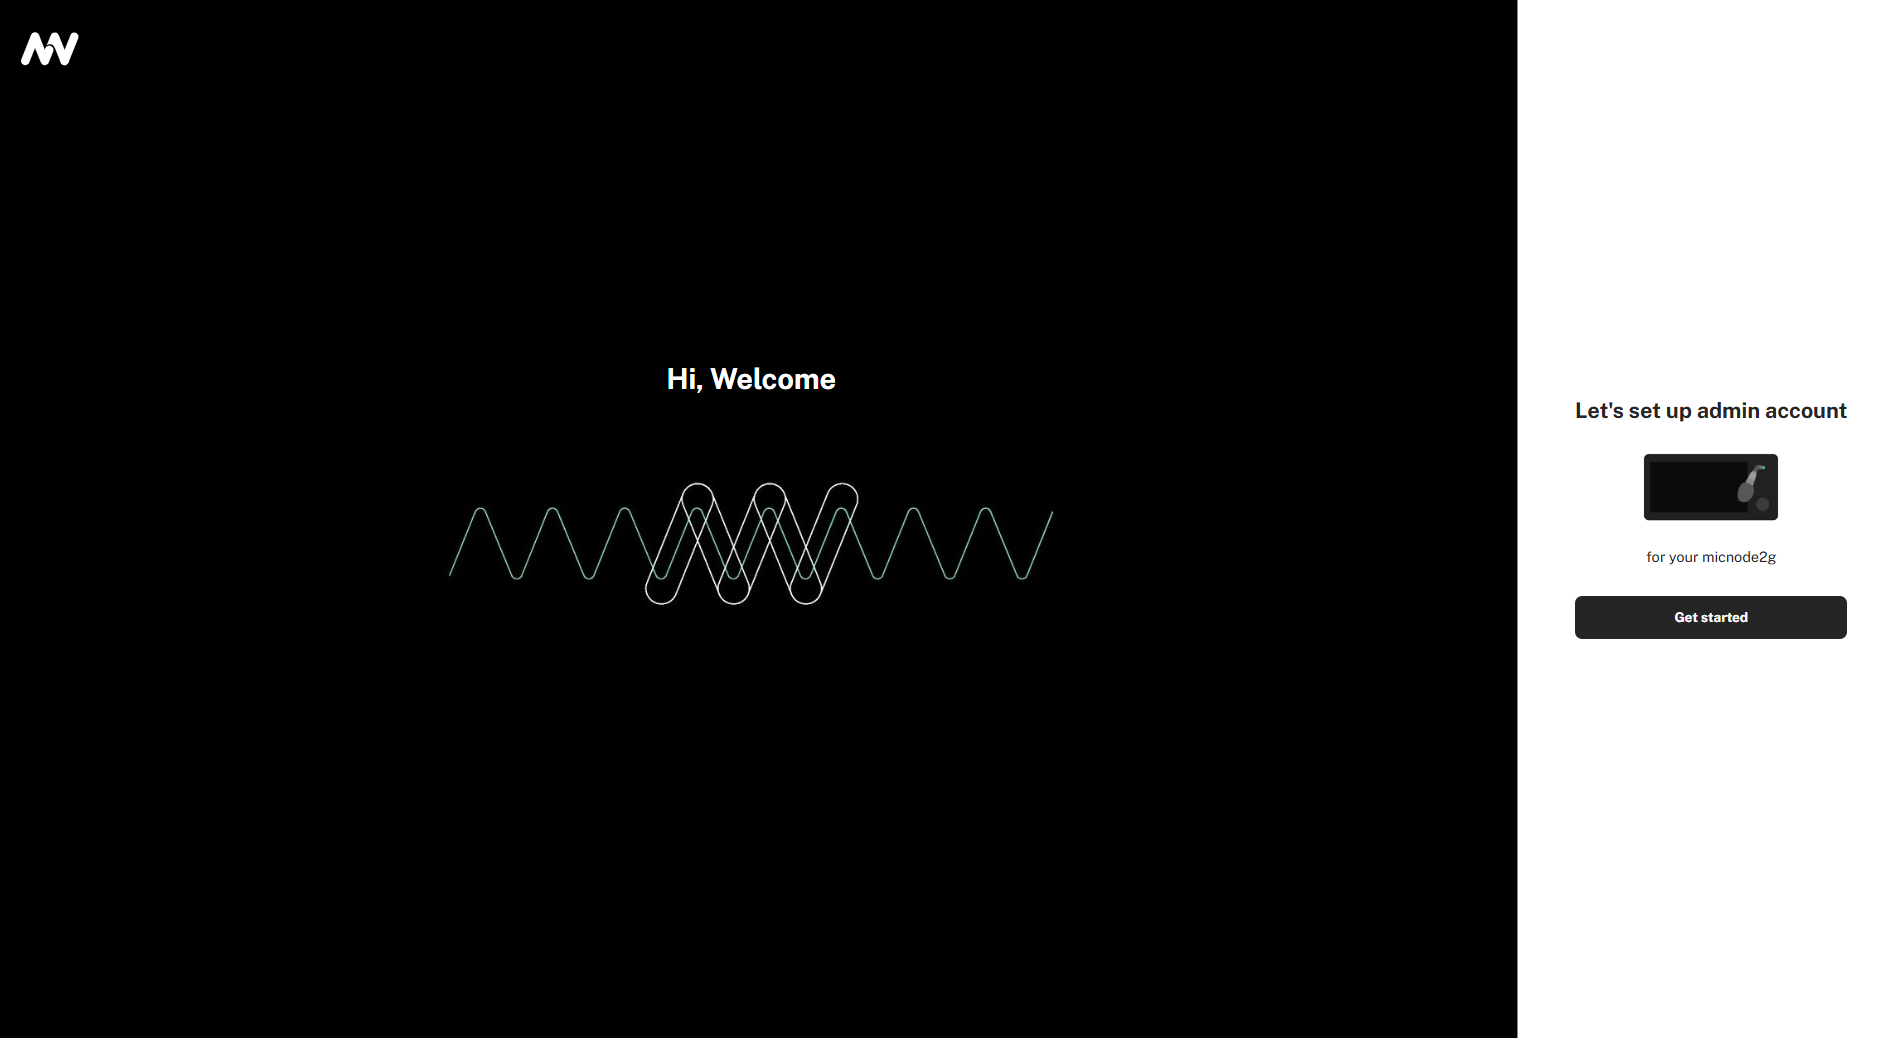
Create your first admin account and then enter these credentials to log in to your device’s nnounce configuration user interface.
Now you are able to access the configuration settings of the device and continue with interface configuration.