- 13 Jun 2024
- 1 Minute to read
- Print
- PDF
Connect the Device
- Updated on 13 Jun 2024
- 1 Minute to read
- Print
- PDF
The micnode mini device utilizes Power over Ethernet (PoE). Therefore, begin by connecting the device to your network with a LAN cable and then proceed to establish the network connection. Access the nnounce configuration UI to define the LAN setup. If you are incorporating your mini station within a Q-SYS installation, you will perform further steps in the Q-SYS designer and download the micnode mini plugin. This configuration is auto populated to the nnounce ecosystem and micnode mini station and vice-versa. To complete your configuration, set up streams and define zones for your paging buttons.
- Connect the device with the LAN port. NOTE: Ensure that the locking tab on the plug of the cable snaps into the RJ45 connector of the device rear panel
- Connect the device to the network, with DHCP enabled.
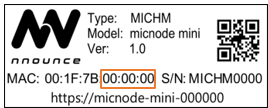
- Use a computer with an Internet browser and search for your micnode mini device by typing into the computer URL https://micnode2h- and the last 6 digits of the MAC address of your device, which you can find on the product sticker of your device.
- Example: https://micnode-mini-000000 or https://micnode-mini-000000.local
- IMPORTANT: Instead of 000000 enter the last 6 digits of the MAC address which you can find on you micnode mini device.
- NOTE: The device is using mDNS.

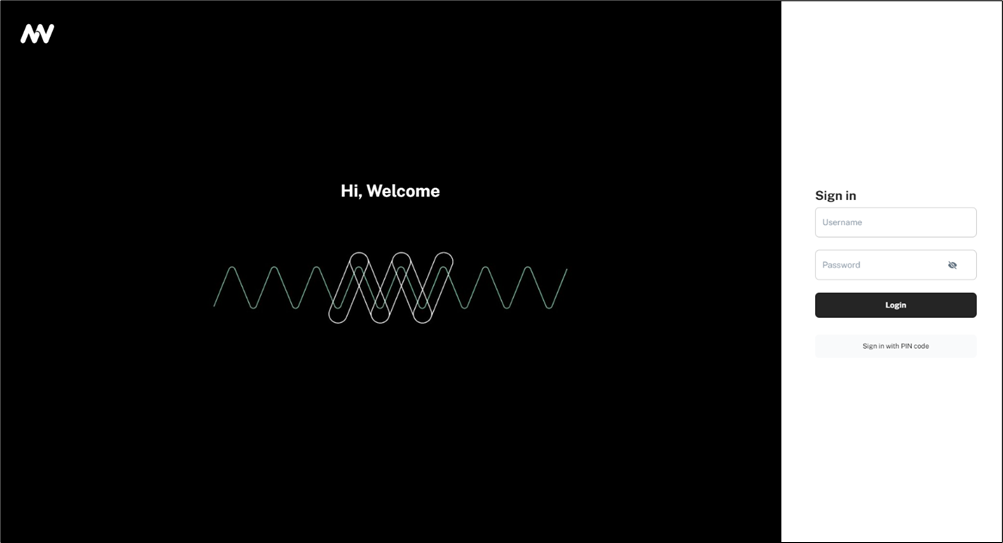
- Your web-browser shows the login page of your micnode mini device.
- Enter credentials into the nnounce configuration user interface:
 IMPORTANT: Default credentials admin/simpleway. Change default password upon the first login.
Now you are able to access the configuration settings of the device and continue with interface configuration.


 IMPORTANT: Default credentials admin/simpleway. Change default password upon the first login.