In this guide we will provide the steps on how to add your own company logo to the Simpleway templates by using a generic example of a company logo.
Topics covered:
Templates tab - Designer: Media library feature
Sample screen: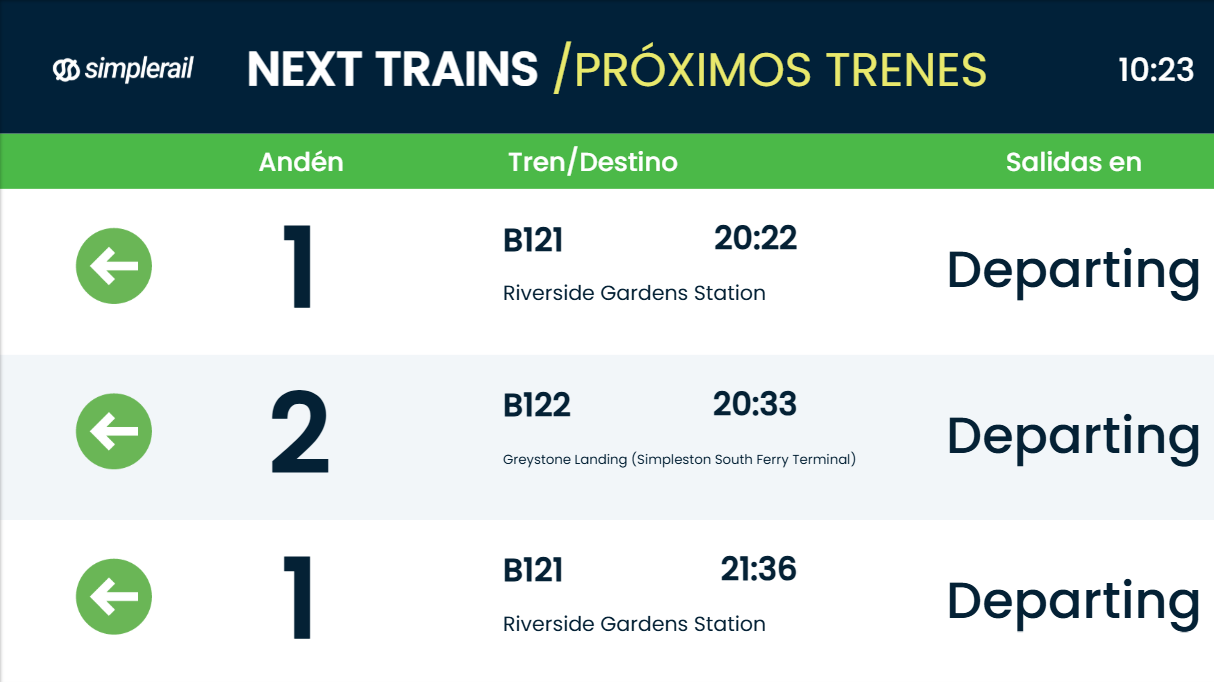
TUTORIAL STEPS:
Prerequisite: Select a Simpleway template and create your own copy - see the tutorial Assign a Simpleway provided TEMPLATE to a display | |
A) Open the Simpleway template in Designer
|
|
Option 1 - Replace logo B) Remove element
Tip! In this template we have used two overlapping images with different color so they change color after 5 seconds. |
|
C) Upload and select your company logo A subwindow will appear where you can select media uploaded to the Media Library.
|
|
D) Configure your logo on the template
|
|
Option 2 - Add new logo E) Add Media library element to the template
Follow steps above C) & D) |
|
F) Click the Save & Publish button in the lower right-hand corner. Now it is ready to be assigned and shown on your display. |
|
.JPG)
.JPG)
.JPG)
.JPG)
.JPG)
.JPG)