Visual text messages let you show passengers a scrolling message on your displays — to inform them about irregularities, events, and similar updates. These messages can be scheduled and triggered for different display zones.
Visual messages are created in the Visual Messages tab within preconfigured regions, called VM regions, which are then inserted into content templates. This lets you place independent VM regions, each with its own set of visual messages, into different areas of a content template. Zones, meanwhile, group your displays so you don't have to select displays individually each time you want to show a visual message.
To setup visual messages on your displays, you need to complete the following steps:
In the Zones tab, group display configurations into a zone. See Connect and configure DISPLAYS and Zoning your audio and display devices for details.
In the Visual messages tab:
Create a new VM region, or select an existing one.
Select the zone with display configurations you created earlier.
Create one or more visual messages within the selected zone and VM region.
In the Templates tab, insert the VM region into the content template.
In the Displays tab, assign the content template to your displays.
TIP: once your visual messages are running, any changes you make to them in the Visual messages tab are updated automatically on your displays.
This tutorial will show you how to create a Visual message within the already pre-configured Default VM region and insert this region in the previously created FLIGHT LIST template which can be assigned to displays.
Topics covered:
Visual messaging tab
Templates tab
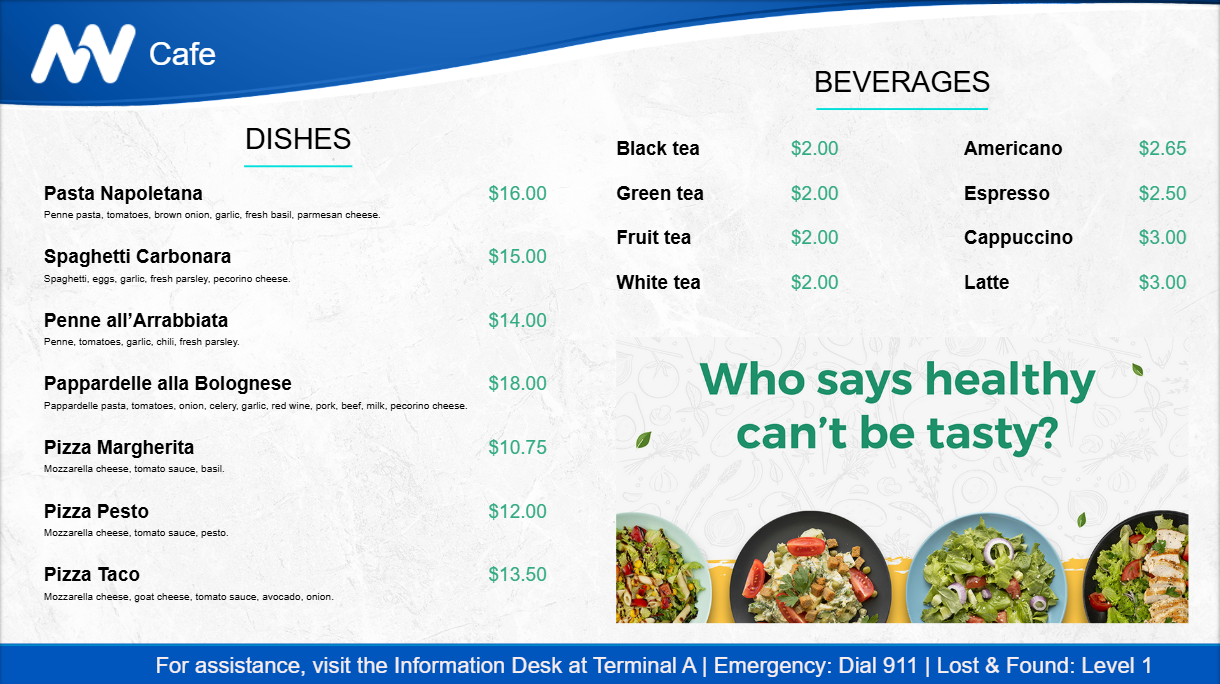
Sample screens:
|
|
|---|
.JPG)
TUTORIAL STEPS:
A) Visual messages tab
|
|
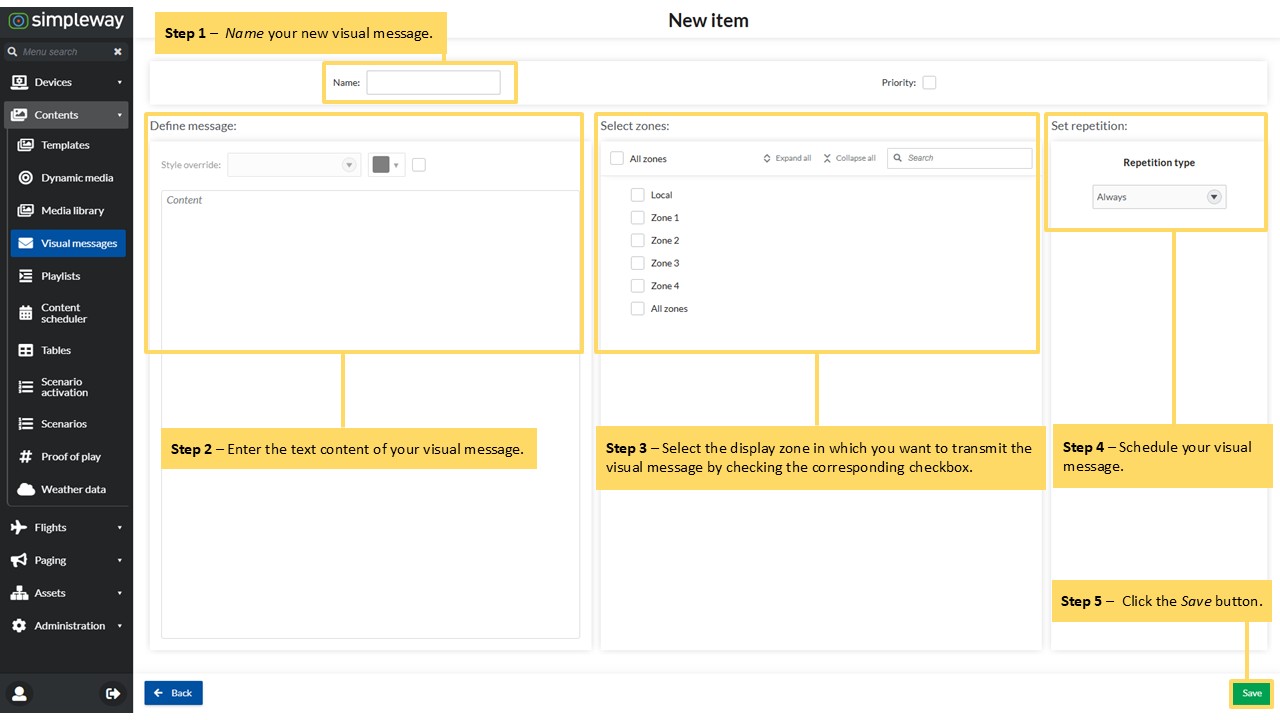
B) Create a visual message Name your new visual message.
Note: Users with appropriate permissions can set a visual message to high priority by ticking the Priority check-box, otherwise its priority will be set to normal. |
|
C) VM States
|
|
D) Open the Templates tab Select a template where you would like to place the VM region. TIP! Simpleway templates have mostly preconfigured VM regions on the template bottom or find it in the Elements list and continue with step G) |
|
E) Visual message widget
|
|
F) Region selection
|
|
G) Stylize your visual message
|
|
| |
.JPG)
.JPG)
.JPG)
.JPG)
.JPG)
.JPG)
Additional information:
Users with appropriate user role permissions, such as admins, creators, and content designers, can create and configure any number of VM regions with any number of visual messages in each region, but changes can be made to one region at a time. Message separator function of the VM region enables to set a sign/text for separating messages on display when being displayed one after each other. Users with with appropriate user role permissions, such as admins, creators, content designers and airport agents, can assign a priority to a visual message which determines the importance of the message above all other messages.